Vintage Stairway Motif
This Row House dates back to 1890’s. Yet, to the owner’s credit, he created a wonderful Mid-Century décor for its interior. In such a house, the foyer and staircase takes a disproportionate volume of space. The owner wanted to do something special for the walls of that space. He took his first step about two years by having us install a Lincrusta wallcovering below the chair rail and then painting it and glazing it to create the perfect look. But the owner was not done.
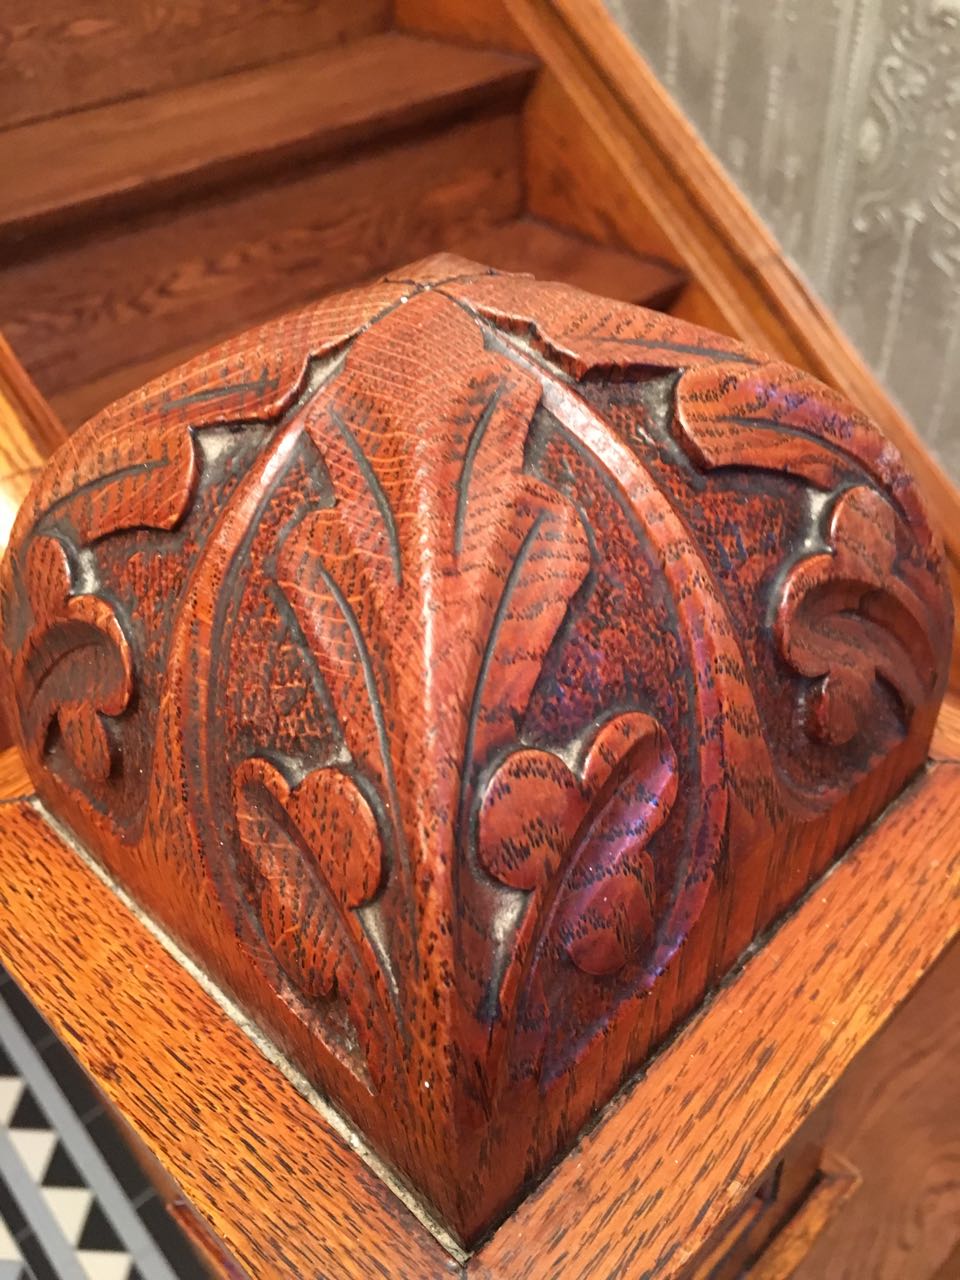
There was a carved motif in the newel post of the staircase that inspired him, as shown in the first picture. He felt that the space above the chair rail was begging for a stencil that would be reminiscent of that motif. So, he set out to look for a design that would be appropriate for the task. He went online and found a motif he liked. From this point forward, we did the design, planning and execution work on the project, making sure the client was approving of our work every step along the way.
Stencil in Foyer Area
The steps in the execution included the following:
– Enlarging his original motif to the appropriate dimension.
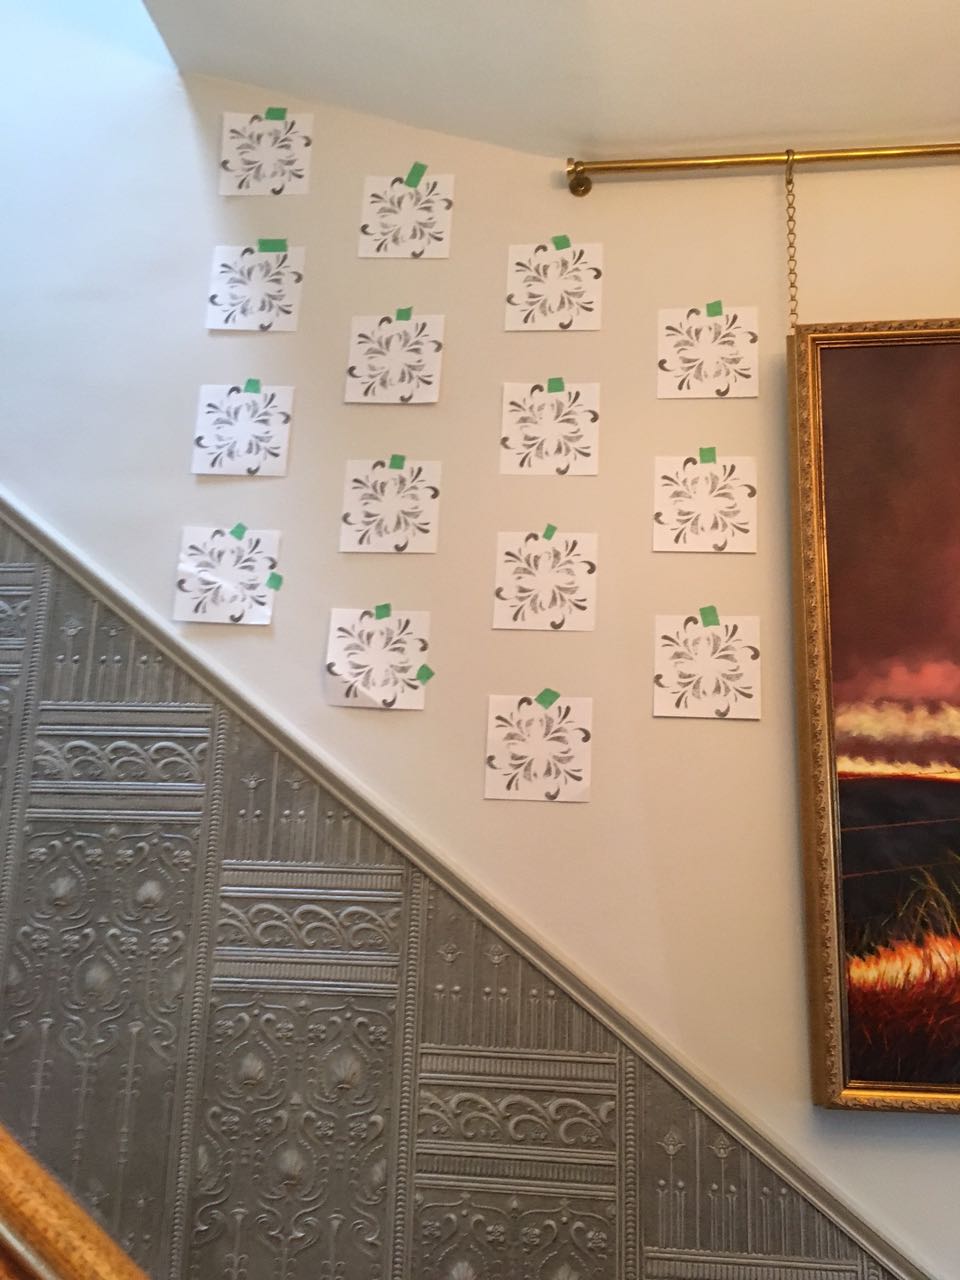
– Ascertaining the desired placement and pattern density.
– Protecting adjacent surfaces before painting
– Cutting the stencils.
– Creating the actual layout on the walls.
– Finally: Stenciling!
– Clean up.
– Voila!
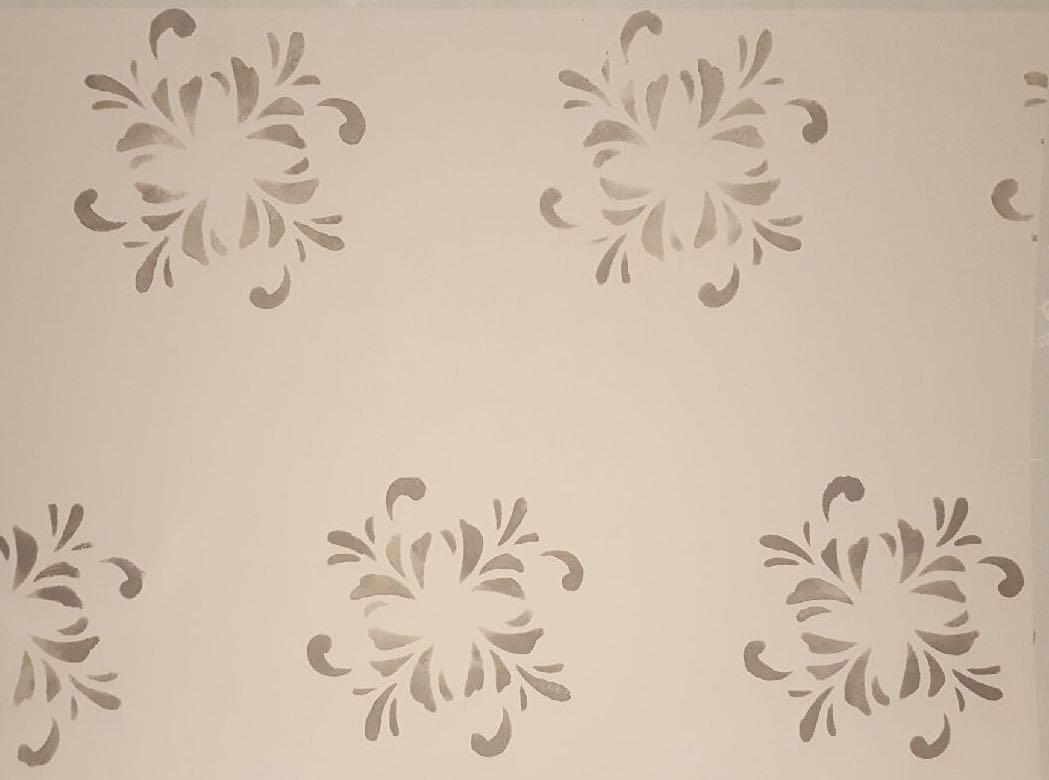
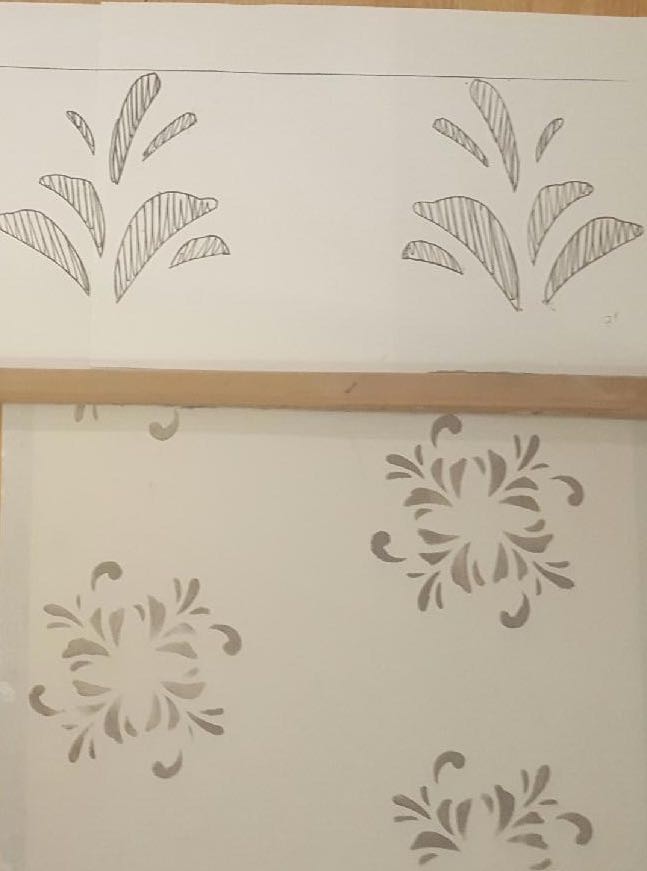
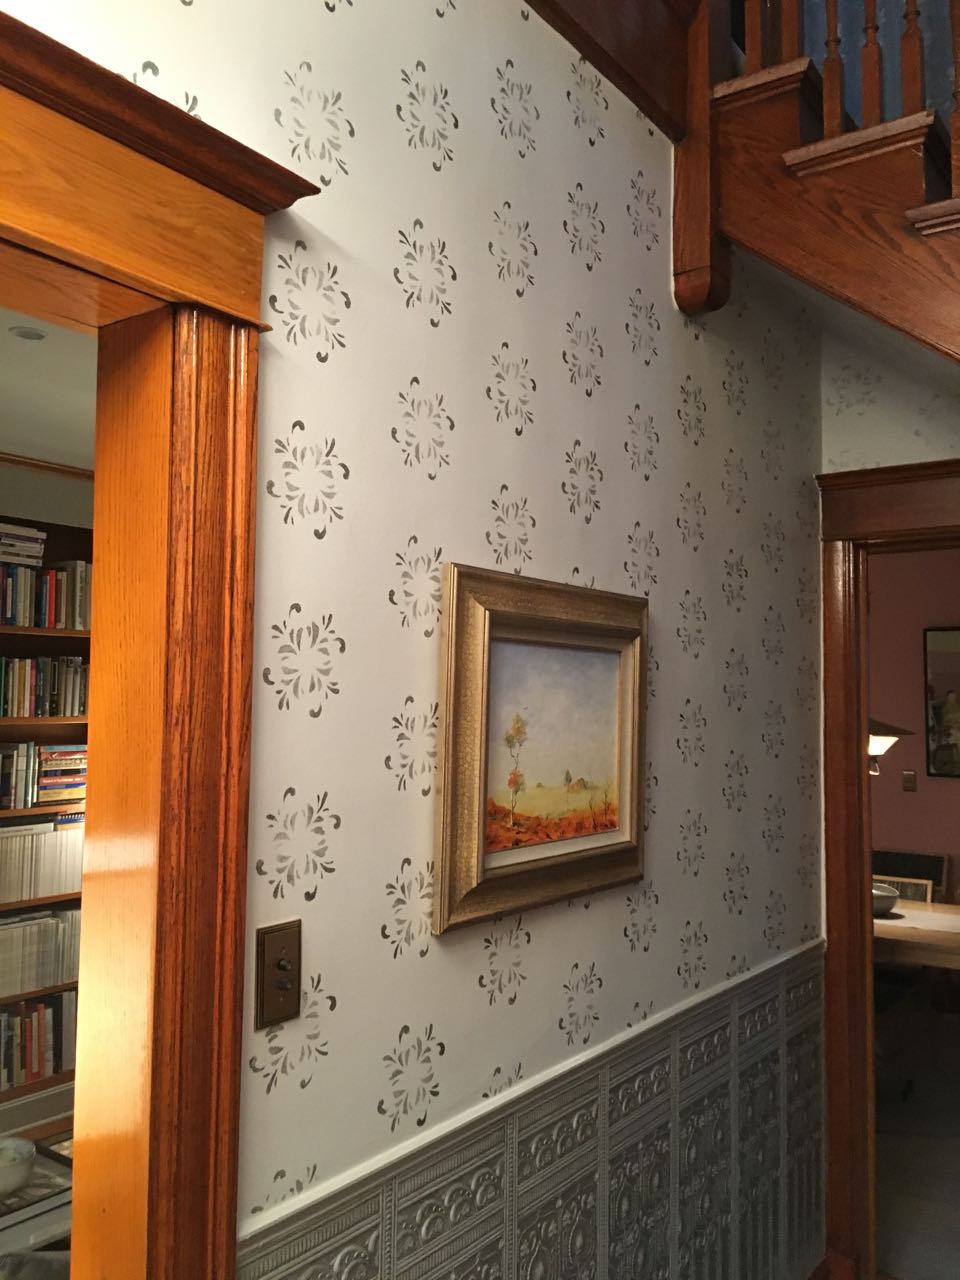
In the second picture, you can see one of the foyer walls, which also shows the Lincrusta wallcovering. The other picture shows the landing area and the two motifs we created for the project. The motif above the picture rail consisted of an enlarged segment of the original design.
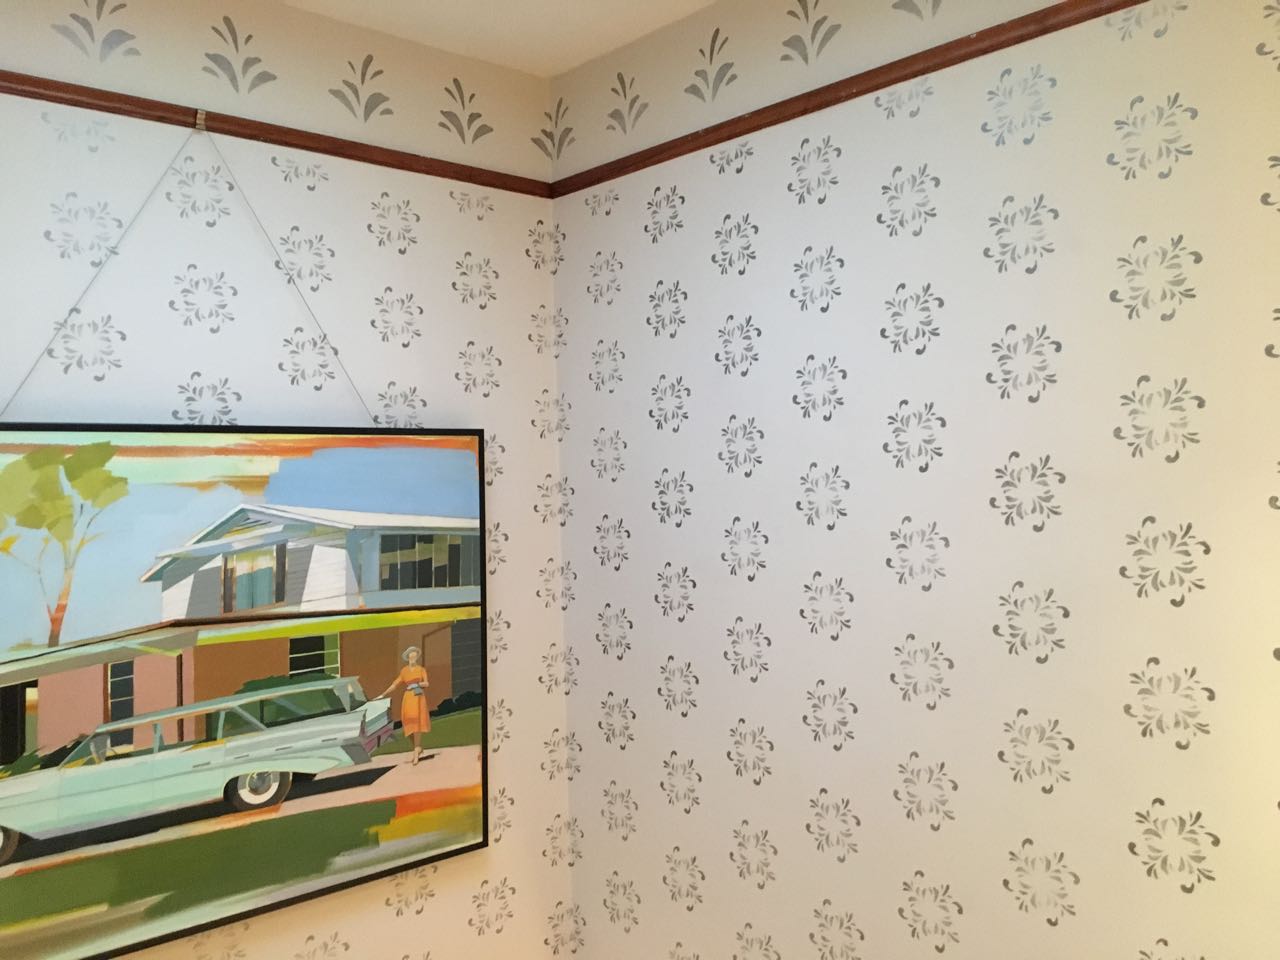
Stencils in Landing Area
The key to the successful execution of a stenciling project is the precision of the layout and the consistency of the stenciling, with some “adjustments” here and there to enhance the aesthetics . At times, such adjustments are made necessary to correct defects on the walls. For instance, the picture rail was one and a half inch from being level. Making such adjustments ensure a successful project.
 Follow