One of our clients owns a farmhouse that was originally owned by one of the Busse family members, the original settler family of Mount Prospect in the Northwest suburbs of Chicago, who came to the area from Germany on the mid-nineteenth century. Today, the family tree has grown to over 2,200 people!
Being a farmhouse, its bones were more humble. For instance, the plaster was a mere one quarter to three eights of an inch thick. Over time, the plaster became quite fragile, especially on the ceilings, where the plaster keys simply gave way. The owner had that problem remedied e few years ago by covering the ceilings with quarter-inch drywall.
Over the years, the owner did a number of things to modernize, preserve and restore the house, especially on the outside. This year, she turned her attention to the interior of the house. High on her list was to bring the electrical
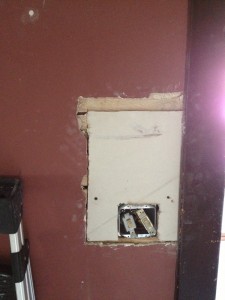
wiring up to code. The electrician doing that work turned out to be reciprocating-saw-happy! In three rooms, he made a total of twenty four good-size holes in the walls and ceilings, cutting through the lath and plaster from stud to stud.
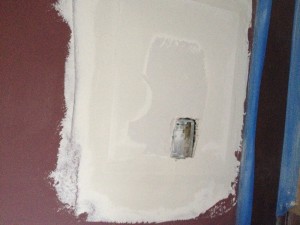
Our painting and decorating company was first tasked with repairing all the holes created by the electrician and then, in a second phase, develop a “period” color scheme for those rooms. The fragility of the old plaster and the nature of the holes made our repair work especially challenging. In order to respect the client’s cost constraints, we decided to use drywall pieces of varying thicknesses to cover the holes. We first had to install wood braces to the old lath and studs, so we could secure the drywall pieces. We then applied two tight coats of setting joint compound, followed by two or three coats of lightweight joint compound. The end result was smooth as baby’s skin!
Working on older or historic properties and helping their owners in preserve their piece of history is what we love to do.


 Follow
