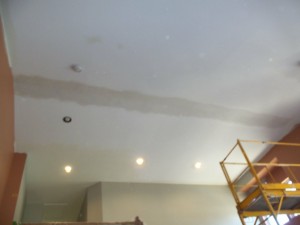
Repairs to surfaces, prior to painting, are a critical part of the work we do as house painting contractors in the Chicago area. Especially challenging repairs are the cracks that sometime develop in the crease of high cathedral ceilings.
On a recent project, we had such a crack to repair between the horizontal plane and the slanted portion of a twenty-foot-high ceiling. How did we go about repairing this crack? Here are the steps we took:
1- A rolling scaffolding is essential to do the work properly and safely.
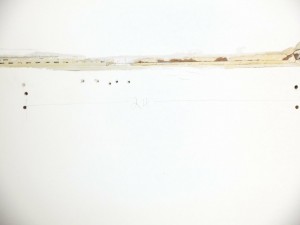
2- The first step consists of removing any old compound and tape which has become loose or delaminated. Using a utility knife or razor blade is used to cut away the failed material (see picture #1).
3- Stabilizing the drywall near the crease area is also critical. The drywall is supposed to be screwed to wood, but sometime there is not an adequate amount of screws, which allows the drywall to move and crack at the seams. Stabilizing the drywall by adding screws is essential to producing a lasting repair (see picture #1). On our project, the studs were twenty-four inches apart, which added to the stress on the drywall fasteners.
4- Then, we use Durabond to fill the cavities and lay a soft bed in the seam area before laying down a vinyl tape, perforated on the edges for added strength. The vinyl tape is then partially covered with a thin layer of Durabond. Vinyl tape is used instead of paper tape, because it will not tear like paper would when subjected to stress (see picture 2).
5- Once the compound has dried, one or two thin coats of easily sandable compound is used to complete the repair (see picture #3).
6- After the compound is sanded, the repair is complete.
As painting contractors, when repairing cracks, we are always concerned about using materials and techniques that ensure the longevity of the repair. In a few instances, we even had a carpenter come in to add wood support for the drywall in the attic in order to properly stabilize the drywall.


 Follow
